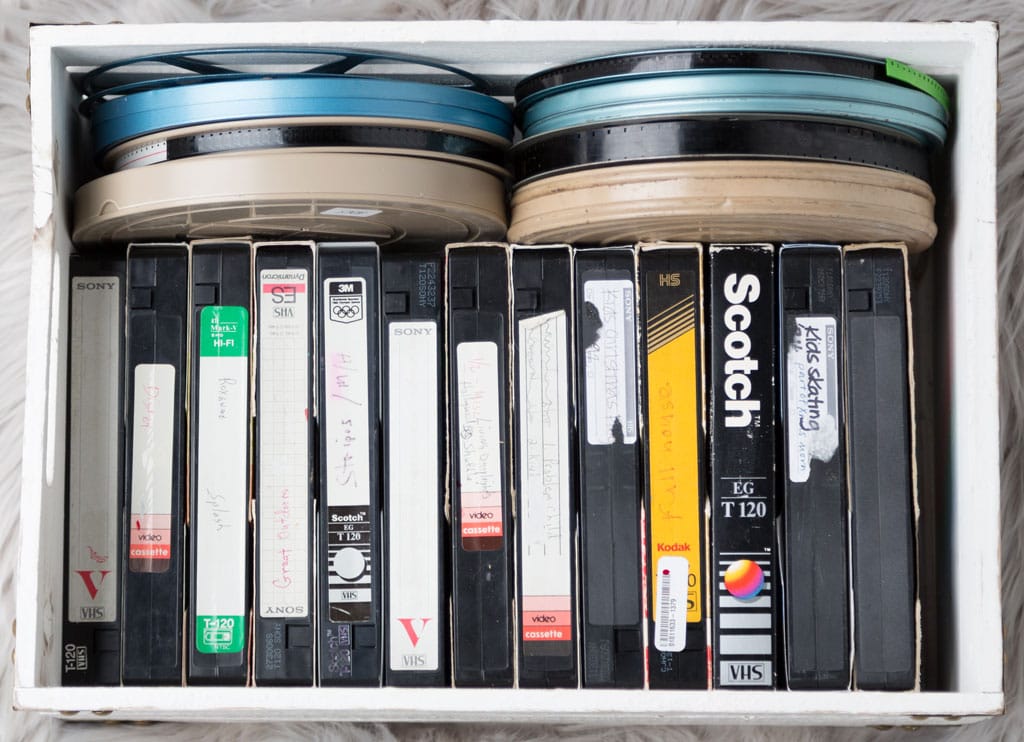
Convert VHS to DVD
To convert VHS to DVD, you need a VHS-to-DVD recorder or a video capture device to digitize the footage. Start by connecting the VHS player to the DVD recorder using RCA or S-Video cables. Insert a blank DVD, press "Record," and play the VHS tape to transfer. Use software to record the footage onto your computer, then burn it onto a DVD.
How to Convert Your Old VHS Tapes to DVD or Digital Formats: A Step-by-Step Guide
If you have a box full of VHS tapes, chances are they contain cherished memories from past decades—family gatherings, childhood milestones, and other irreplaceable moments. Unfortunately, VHS tapes degrade over time, and it’s becoming harder to find devices that can play them. Converting these tapes to DVD or digital format not only saves your memories from deterioration but also makes them easier to watch and share.
In this article, we'll walk you through how to convert VHS tapes to DVD or digital formats on your own. We’ll also cover why a professional service, like iMemories, might be your best option for a hassle-free, high-quality conversion.
Why Convert Your VHS Tapes?
Before diving into the conversion process, here are a few reasons why converting VHS tapes is essential:
- VHS Degradation: Over time, VHS tapes deteriorate, causing image and sound quality to degrade.
- Convenience: DVDs and digital files are easy to store, play, and share.
- Preservation: Digitally preserving tapes ensures you can pass them on to future generations.
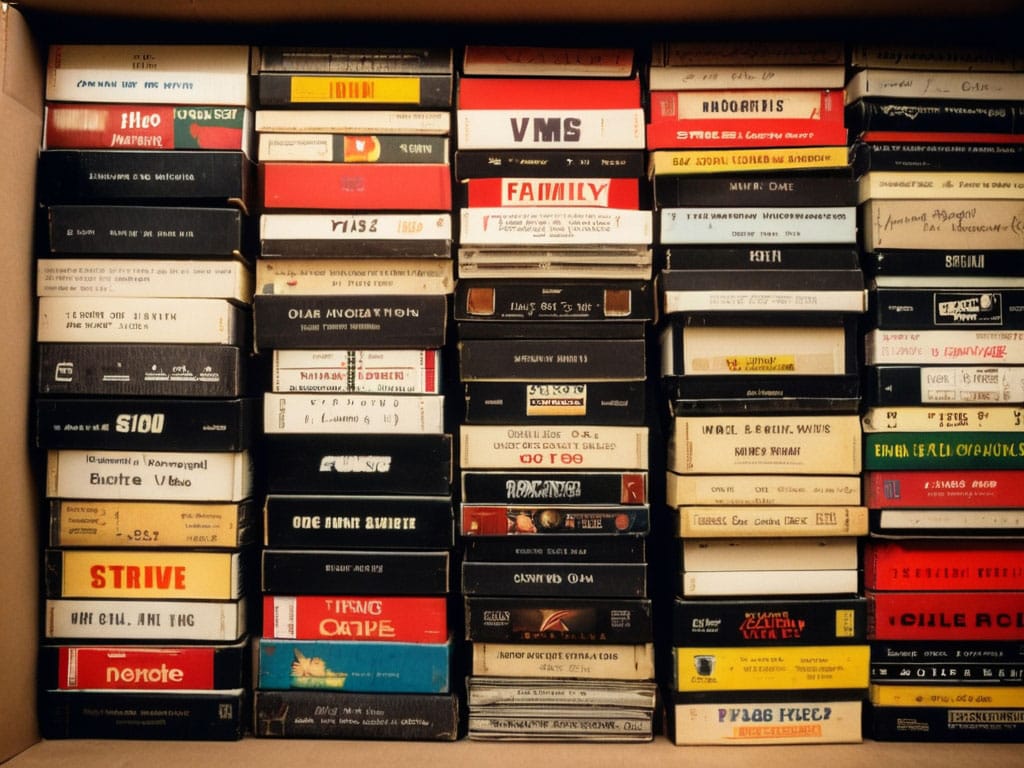
DIY: How to Convert VHS Tapes to DVD or Digital Format at Home
If you're up for a little tech setup, you can convert VHS tapes at home. Here's what you need to get started:
What You’ll Need
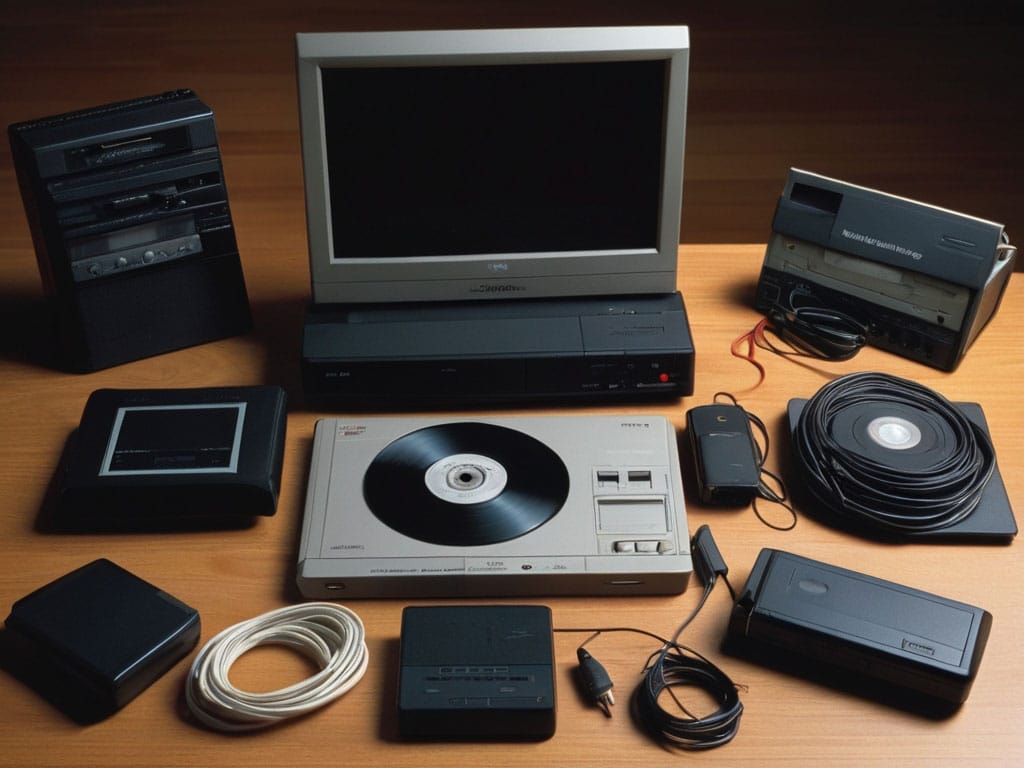
- A VHS Player: You need a functional VHS player (or VCR).
- A DVD Recorder (for DVD conversion) or a Video Capture Device (for digital conversion).
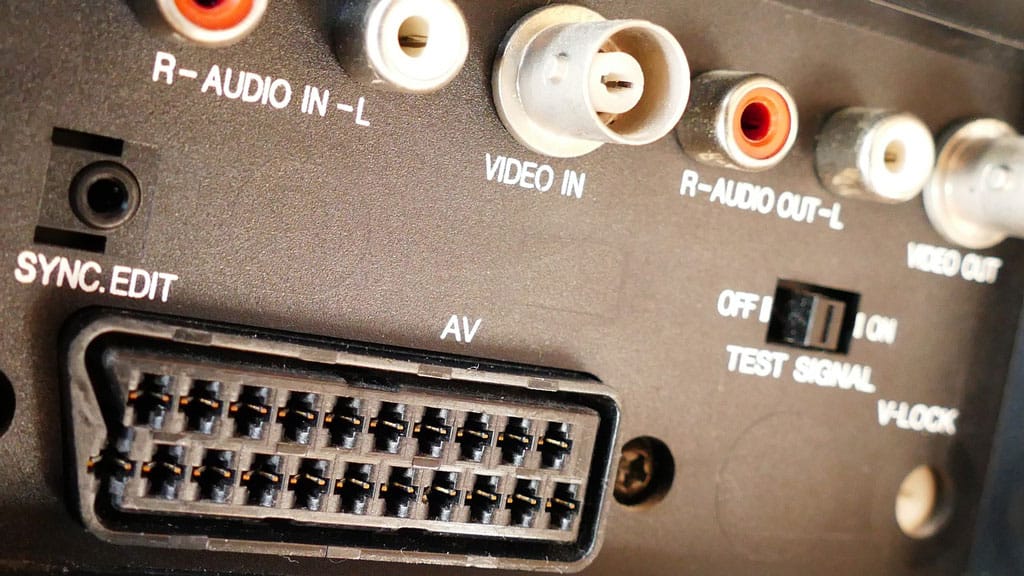
- Cables: Typically, RCA (red, white, and yellow) or S-Video cables are required to connect the VHS player to the recorder or capture device.
- Computer Software (if digitizing): If you’re transferring to digital files, you’ll need capture software compatible with your video capture device.
Step-by-Step Conversion to DVD
- Set Up Your Equipment: Connect the VHS player to the DVD recorder using RCA or S-Video cables.
- Insert Media: Place your VHS tape in the VHS player and a blank DVD in the DVD recorder.
- Record the Transfer: Start the VHS tape, press "Record" on the DVD recorder, and allow the transfer to complete. It will take the entire duration of the VHS tape to transfer.
- Finalize the DVD: After recording, finalize the DVD so it can be played in other devices. Check your recorder’s manual for instructions on finalization.
Step-by-Step Conversion to Digital Files
- Set Up Your Equipment: Connect the VHS player to the video capture device, then connect the capture device to your computer.
- Start the Capture Software: Open the video capture software on your computer. Adjust settings to get the best quality.
- Begin Recording: Start the VHS playback and begin recording on your software.
- Save and Edit: Once the recording is complete, save the digital file. You can edit and enhance it if desired.
Why Using iMemories May Be A Better Choice
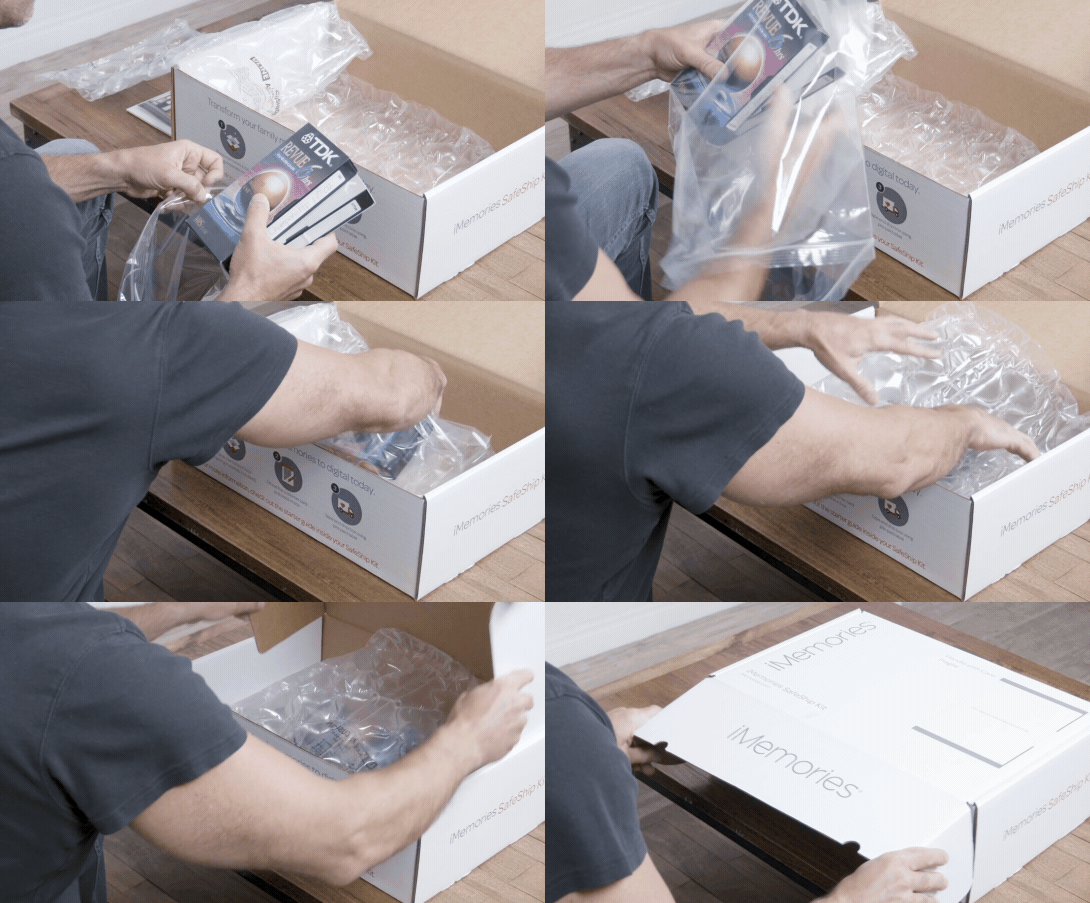
While the DIY route can be fulfilling, it comes with challenges. Equipment can be difficult to find, and the process can take hours, depending on the number of tapes. This is where a service like iMemories shines. Here’s why:
- High-Quality Results: iMemories uses professional equipment and techniques to deliver crisp, clear videos with enhanced sound and image quality.
- Hassle-Free Process: iMemories takes care of the entire process, from safely shipping your tapes to delivering high-quality digital or DVD formats.
- Convenient Access: iMemories allows you to access your videos in a convenient online format, easily sharing them with family and friends without needing additional hardware.
- Long-Term Preservation: They use advanced digital archiving to protect your memories against further degradation, with secure cloud storage available for easy access anytime.
- No Obligation to Proceed: Once you send in your tapes, an iMemories team member will review them and provide you with a detailed estimate and available options. If you decide not to move forward, they’ll simply send all your tapes back to you, no questions asked.

Conclusion: Choose iMemories for Safe and Simple VHS to DVD Conversion
While DIY VHS to DVD or digital conversion is possible, it requires time, equipment, and patience. With iMemories, you can trust that your tapes are in expert hands. They make it easy to preserve your cherished moments with professional care, saving you the hassle and giving you peace of mind.
Preserve your memories without the worry—check out iMemories today!

